When to start learning to draw
There is no consensus among experts about when exactly to give a child paints or pencils. Early childhood educators recommend doing this at six months of age. The baby's mother can draw simple lines or patterns with him.
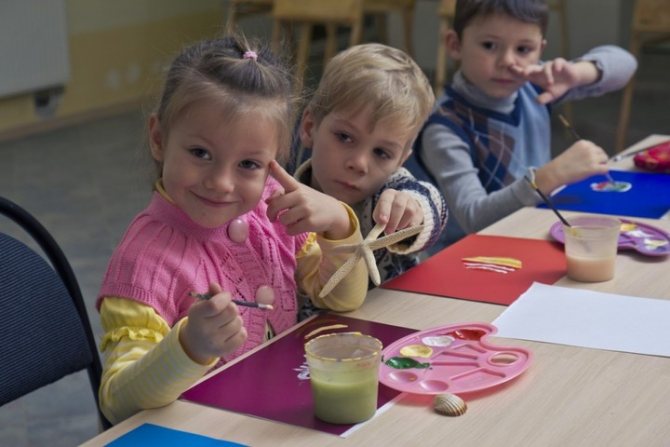
It is not necessary to send your child to art school. Training can be done at home
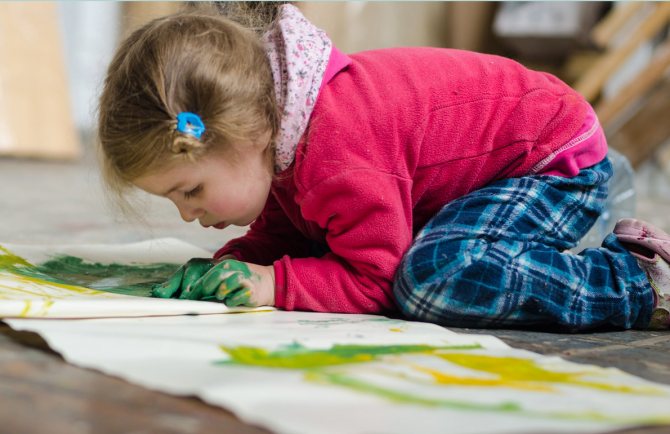
After this, the child may become interested in the process. In this case, a large sheet of paper is placed vertically in front of him and he is given a piece of chalk or a thick pencil. He will hold it with his fist - this is normal and you should not insist on the correct grip just yet. Up to a year old, you can show your baby watercolors and name the colors. Then they give the child a marker and attach whatman paper to the wall. The first drawings will look more like a chaotic interweaving of lines and you should not be afraid of this. This is the initial stage of developing drawing skills. After one and a half years, you can use not only finger paints, but also other materials. For example, liquid semolina porridge with the addition of natural dyes will serve as an excellent basis for drawing.
Important! The development of sensory sensations is important for the formation of the psyche. Therefore, you cannot forbid a child to get his hands dirty with paint. With their help, he develops sensations.
By the age of two, the paper size is gradually reduced. Gradually, the baby is taught to paint with a brush and then with his fingers. To do this, they ask you to make small details: a pattern, cars, flowers, etc. At the age of 4-5, children can already depict plot drawings and they develop their own color codes. During this period, the child understands that his scribbles can mean something.
The benefits of drawing for children
When a child tries to depict something on paper, his memory, attention and imagination work. He has to watch every movement, think about where to put the stroke. In the process, he develops his imagination, as he needs to think through all the details of the image. Learning to draw helps prepare the hand for writing. The child learns to hold a pencil or brush using a special finger grip. This is what will help him control the handle in the future. The process requires special self-awareness. The child begins to consider himself an adult and approaches the process responsibly. This develops his determination, perseverance, and patience.
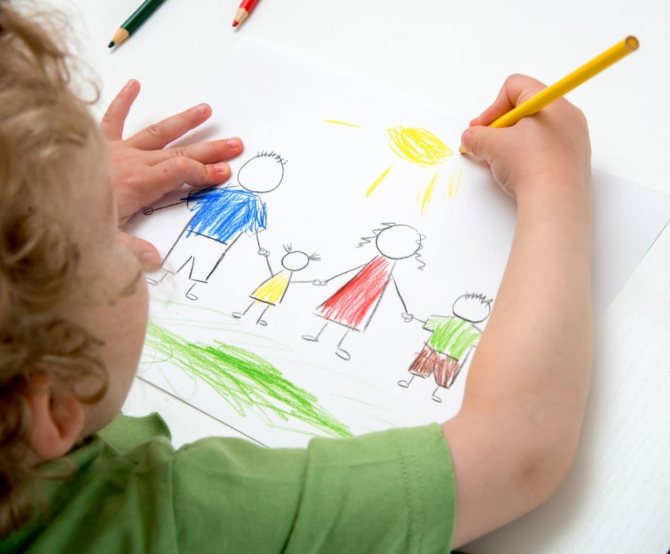
Most often, the child depicts everyday scenes: parents, games, home, etc.
Children's drawings are filled with meaning. The size of objects, shape and their arrangement matter. This is precisely what psychological projective techniques are based on. The well-known test “Home. Tree. Man" allows you to identify anxiety, conflicts and much more.
Analysis of educational activities in preschool educational institutions according to the Federal State Educational Standard
Drawing lessons for kids from 2 to 4 years old
Teaching a child who is 2-3 years old to draw begins with mastering the simplest techniques. At the same time, it is very important to be attentive to the child’s needs to create and not to ridicule his diligent scratching of a pencil on paper.
The condescending attitude of adults towards children's drawings leads to the fact that the child may consider drawing an empty activity and abandon it.
What will you need?
Take bright colors, paper (the larger the sheets, the better), good brushes, a soft sponge and a glass of water. It is best to dress in something that you don’t mind getting dirty - even a purchased apron for drawing will not save you from stains when the young artist is only 3-4 years old!
How much time should you spend studying?
You need to teach your child to draw for 10-20 minutes, 2-3 times a week, so that he doesn’t get bored, but also doesn’t end up losing his desire for creativity.
Techniques for developing drawing skills
the freedom of action
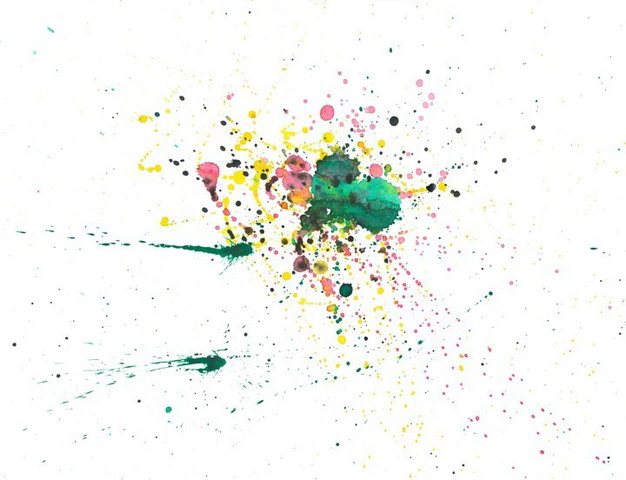
To conduct this lesson, take glossy white paper and watercolor paints. Let your little one dip the brush into the paint can and drip it directly onto the paper! The whimsical patterns with which it spreads will look like magical pictures!
Sponge but not Bob
For this lesson, take gouache and a large sheet of paper. Have your child dip their hand in the paint and squeeze it out a little. Let him leave a “signature” on the sheet with his hand, and use a sponge rolled into a roll to make the final artistic “touches” nearby.
You can draw on paper in a similar way with your fingers: dilute the gouache with water so that it turns into “sour cream” and pour it onto a plate. Using a wide brush, apply paint to your child’s fingers and ask them to leave their autograph on the sheet.
Wet style
A thick and large sheet of paper needs to be wetted under water for a couple of seconds. Now put it on a tray and invite your child to scribble watercolors on it. Considering the condition of the surface, the paint will spread on it, mix and create amazing “wet” patterns.
Scarlet flower
To teach a child to draw something really memorable, you can do this: dip the child’s finger in green and, holding his hand, draw a stem with him on the paper. The palm print will act as a bud, and the end result will be a wonderful flower!
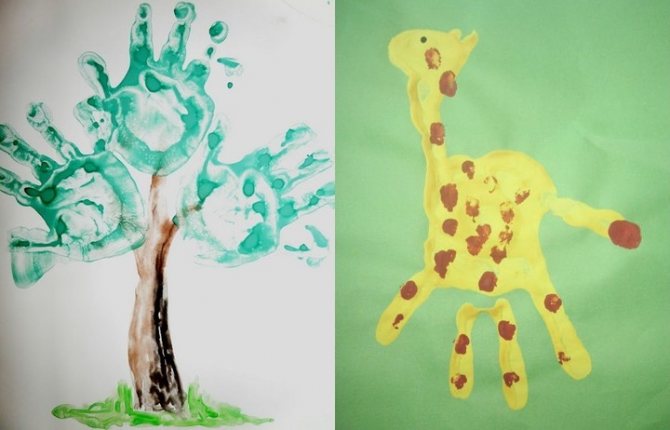
This technique can be successfully used to depict other objects. Try using it to depict a tree or a cheerful giraffe with your baby.
Image techniques
Parents don't always know how to teach their child to draw. This needs to be done in stages. Visually effective techniques must be used. First, an adult shows how lines are drawn at different angles, then connects them into geometric shapes.
Important! There is no need to rush your child and force him to do everything perfectly right away. Mastering any skill occurs gradually.
You can quickly draw a car or other object using circles and rectangles. Another popular technique is for an adult to take the child's hand and lead it. The teacher’s task is not to analyze the finished work, but simply to show it and emphasize its uniqueness. Experts recommend gradually involving children. Parents do not always understand where to start learning to draw. You can use templates that require little modification. The child is asked to add threads to balloons, etc. In preschool age, you can offer to depict simple still lifes of fruits or flowers. Children don't have to portray everything exactly. It’s more important to show them how to draw.
Master class for educators “How to teach a child to draw?”
Yushkevich Natalya
Master class for educators “How to teach a child to draw?”
Master class: “How to teach a child to draw?”
Today we will talk about children's drawing.
Drawing is an essential stage in the development of every person. A child receives enormous developmental assistance from drawing. Visual activity is associated with the child’s thinking. At the same time, visual, motor, muscular and tactile analyzers are included in the work. By drawing, children learn about the world, its objects and phenomena, and develop creative abilities.
You need to start with simpler tasks and gradually complicate them. For example, children first draw individual objects: vegetables, fruits, mushrooms, dishes, etc., and then combine them into a still life. Or autumn leaves, first of a simpler form (birch, aspen, and then more complex (currant, maple, rowan).
Drawing is one of the favorite activities of almost all children. Already at 1.5 - 2 years old, a child can be introduced to various art materials (pencils, wax and pastel crayons, paints). Parents and teachers must ensure that the child uses them correctly and that all materials are safe. Broken small pieces are also useful for painting. This stimulates the development of fine motor skills in children, making fingers flexible and strong. Working with colored pencils requires more attention from adults.
However, by drawing with pencils, children learn to control the pressure and develop hand coordination. Felt-tip pens are the least suitable for learning to draw. they attract the child with their brightness, but have some disadvantages. A mark from a felt-tip pen cannot be erased, like a simple pencil, and it cannot be painted over with a different color, like gouache. If the baby passes over one place several times, the paper will get wet and pellets will appear. In addition, drawing with felt-tip pens does not require much effort. This material is well suited for designing posters, wall newspapers, and postcards. You can decorate a frame for a drawing or some kind of craft with felt-tip pens. Older children can do all this, but little ones have yet to learn everything.
At the beginning of their creative journey, children draw “doodles” or “tweets.” You shouldn’t rush them, much less specifically teach them how to draw any objects. Everything has its time! When a baby “chirps,” he explores the properties of art materials, his capabilities, and the reaction of adults to his drawings. This is a very serious matter and takes a lot of time. In addition, drawing is a kind of game, a fascinating process of creating something with your own hands. Even “doodles” are of great importance for the baby. “I did it myself!” - sounds proud. The child becomes a storyteller, a wizard and creates his own world on a white sheet of paper. At this time, children's imagination, fantasy, memory are actively working and speech is developing.
How can we help children move from “doodle” to depicting objects, animals, people and everything that surrounds them? Always ask your child about what he drew. Treat his story with respect and attention. Perhaps you see something completely different in his drawing or see nothing, but the baby knows exactly what is depicted. Sometimes children come up with whole plots, tell whole stories. By talking with children about drawings, you will understand what interests them, what they think and dream about. As soon as you are sure that the child has played enough and “chirped” a lot, you can teach him to draw different lines and geometric shapes. Show him how to work with art materials (shading, shading, brushstrokes, mixing paints, etc.). With your child, look at illustrations in books, reproductions, observe natural phenomena, animals and people.
Drawing lessons for preschoolers
Parents and teachers often make this mistake. as a display of simple and template images (a house is a quadrangle, the roof of a house is a triangle; the sun is a circle, and the rays are lines). Having little life experience, the baby will copy the adult’s drawing. Where is the joy of creativity, independence, imagination? Adults should not interfere too much with the drawing process. Help with advice, ask questions: You have a wonderful car, but where does it go? (road, city, village) Oh, what a beautiful butterfly! What does she do, where does she fly? (flowers, sky) The dog is sitting alone, maybe she’s bored? (house, booth, other animals) And let the children draw themselves the way they know how, the way they feel! Never, under any pretext, add anything to your child’s work or improve it, this also offends him, emphasizes his inferiority, his inability to draw well himself.
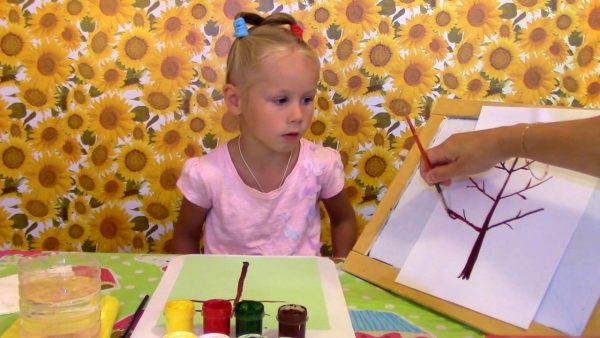
Techniques for drawing a tree.
The main part of a tree is the trunk. If we paint with paints, I use this technique: the upper part of the tree is thin, we paint it with the end of the brush. The tree thickens at the bottom, so we paint with a brush, laying it flat. And the speech accompaniment is as follows: “We move the brush straight, and then we put it down.”
When we draw with pencils, I tell the children: “The trunk is narrow at the top, widens at the bottom and only a finger can fit in.”
Branches extend from the tree trunk. They extend from the base of the trunk, which means they are the main ones. They are short at the top, and lengthen at the bottom and they are curved (children often draw straight ones). I also use the technique of drawing with my hands in the air.
On the main branches there are short branches - these are additional ones. They are located above and below on the main branches.
Drawing an animal
So, choose one animal with your child that you will draw today, for example, let it be a cat. Ask him what geometric figure the body looks like and what the head looks like. If the baby finds it difficult, help him - show him that the body is an oval and the head is a small circle. We place the figures on the sheet, like the body and the head, and outline them with a thin line, then we draw the cat’s legs, tail and ears. Draw the nose and eyes.
Next, we decorate our cat.
How to teach a child to draw a person?
First, draw an oval at the top of the sheet.
1. Below, draw a rectangle and attach it to the oval with a small line.
2. At the bottom of the rectangle we will add these primitive legs.
3. Now it’s the turn of primitive pens. These will be two segments with small finger lines at the ends.
4. We improve the primitive handles by adding two lines to each hand.
5. We transform primitive legs into beautiful ones.
6. Draw the ears - these are two small semicircles on the sides of our head.
7. Now let's do the hairstyle. Here you can get creative and draw hair to suit your taste.
8. Draw very small curls in each ear.
9. The turn came to our little man’s face. Drawing eyes, mouth, nose and eyebrows is not a difficult task at all if you look at an example, and a child can easily draw them.
10. Finish drawing the neck
11. We trace the lines of the fingers and get palms.
12. We dress the little man.
13. The last step is to erase unnecessary lines, outline the main contours and paint the little man.
Game "Funny People"
To work, you will need white cardboard cards, on which you need to draw the so-called “skeletons” of people in different poses and different facial expressions with a gel pen.
Next, you need to prepare a large number of pieces of loose paper of a similar size (you can use regular printer paper, prepare simple pencils, colored pencils, and you can start creating.
Everything is very easy and simple: the child puts a piece of thin paper on a card with a drawn silhouette figure and does not just outline the silhouette, which shines through, but, as it were, immediately dresses it in clothes at will and adds details and objects. At first, children simply draw one figure, but then they add animals and objects, and they no longer get complex plots.
And in the preparatory group, when the majority of children write well in block letters, sometimes the children also write phrases that their heroes say
At the end of our master class, I want to remind you that drawing plays a great role in the development of a child. V. A. Sukhomlinsky said: “The origins of children’s abilities and talents are at their fingertips. From the fingers, figuratively speaking, come the finest threads - streams that feed the source of creative thought. In other words, the more skill in a child’s hand, the smarter the child.”
Workspace organization
Draw only on a table that is covered with a tablecloth. This will teach the child order. Colored and plain pencils are placed in special glasses, erasers and sharpeners are placed in a pencil case.
Important! The child must immediately be taught that he must not only organize his own space, but also clean up after himself.
Watercolors and gouache are stored in a desk drawer and taken out only when necessary. It is better to pour water into a special sippy cup. Brushes should be washed thoroughly after use, and the child will be taught to do this immediately.
Basic techniques
Teaching children to make beautiful drawings is not so easy. This skill needs to be developed gradually. Drawing simple lines will help with this - put two dots on a sheet of paper and connect them. This must be done without a ruler.
Special pictures will help you learn to hatch. To do this, you need to fill the object with straight lines
Preschoolers can be shown how to make a gradient. This technique will help you learn how to make easy color transitions. To do this, take simple pencils of different hardness and show changes in shades on paper.
Step by step teaching a child to draw
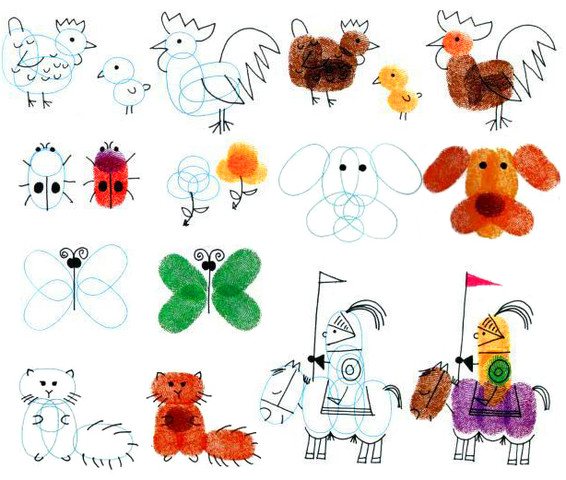
Step-by-step lessons will help your preschooler master a new skill. Due to his age, it is still difficult for him to imagine a detailed drawing plan. For example, a chicken can be easily depicted in stages:
- A circle is drawn in the center of the sheet with a brown pencil.
- A slightly smaller circle is drawn on top of the object.
- Make two black dots in a small circle.
- Between them, draw a beak with a red pencil in the form of a pentagon.
- Brown paws are added to the bottom of the large circle.
- The body and head are painted over with a yellow pencil.
Note! Any object can be roughly decomposed. It is important to teach the child to see an object as a combination of several geometric shapes. Gradually he will be able to do this without using hints.
Sequence of stages of implementation of problem-based learning technology
Using pencils
It is better to choose hexagonal colored pencils. They are easy to hold and easier to grasp with your fingers. To get started, a set of 12 colors is enough - it’s enough to make a simple drawing and a real masterpiece. An adult shows how to use pencils. Combine colors, change the pressure and the way you hold it in your hand. You can learn to draw through coloring books. With their help, the child will get used to not going beyond boundaries and making small details.
Application of paints
It is impossible to say for sure where to start learning to draw. Each individual has an individual learning path. Finger paints can be used from the age of one year. You can smear your hands with them and make unusual drawings. At an older age, it is better to take gouache or watercolor. With its help you can draw anything. Children are taught how to use paints correctly. First, prepare the workplace, pour water into a glass and take brushes.
Important! During the lesson, the teacher explains that the paints are slightly moistened and only then used.
The process is no different from using pencils. Geometric shapes are depicted step by step. Snail drawing is easy to make:
- First, make a large yellow circle.
- An elongated loop is depicted under the cinnamon object.
- At the right side of the loop, strings-eyes are drawn.
- The yellow circle is decorated with a spiral pattern.
Repeating each step will improve the skill. Gradually the goals become more complicated. The smaller and clearer the drawing, the better the child’s higher mental functions develop.
Drawing an oval based on a cross
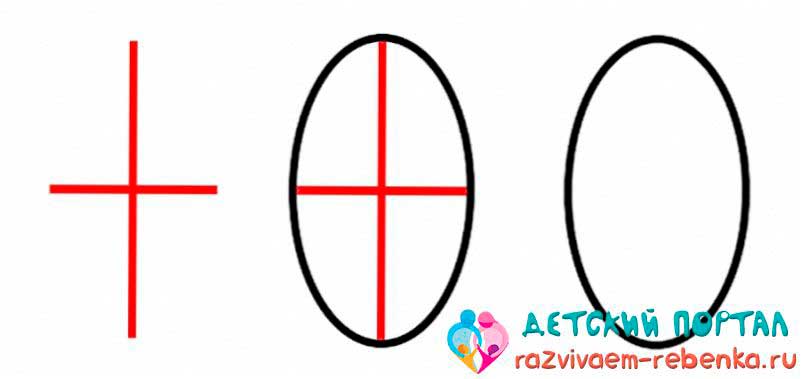
First, children must learn to draw smooth, straight lines.
- The first step is to draw a horizontal line, divide it in half with a dot; if dividing in half “by eye” is difficult, you need to teach the child to use a pencil or a short stick for this purpose, and correlate the length of the segment with the length of the line.
- Draw a vertical line through the point to form a “cross”; the lines forming it should differ in length. Mark the vertices of the “cross” with dots or serifs.
- Connect the dots with a smooth line using a pencil of a different color; now the auxiliary segments can be erased.
In this case, symmetry is more difficult to achieve, but imagination is used more actively, since there is no bounding rectangle.
Do you need a drawing class?
Sometimes parents think about teaching their children in a special creative school. There are also different sections that help the child learn a new skill.
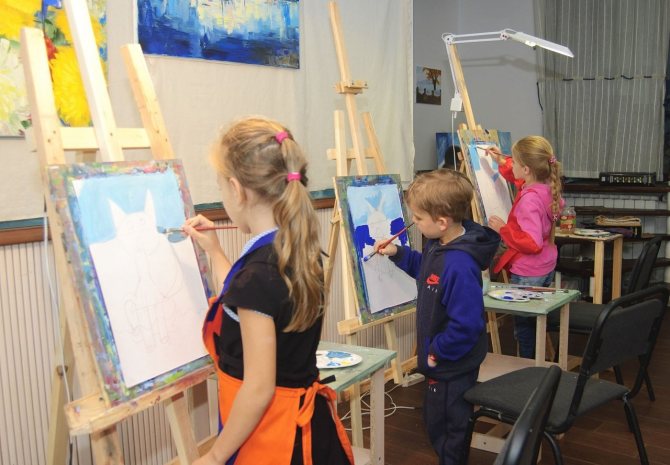
Experienced teachers know teaching methods. Therefore, they interact more effectively with students
Graphic skills will help a preschooler master writing. It will be easier for him to hold a pen, navigate a sheet of paper and control pressure.
We wrote earlier about how to teach a child to hold a pen correctly.
Art school promotes the development of imagination and creative skills. In the future, a person will develop an aesthetic taste that will help in life.
Advice from psychologists and teachers
Experienced experts recommend not forcing a child to do something he doesn’t like. If he does not have a pronounced interest in paints and pencils, then you should not force him.
Important! In creativity you need to be given freedom of expression. Therefore, a child can draw animals or vehicles, fantasy worlds. The main thing is that he likes it.
Over time, you can show children that there are many styles of drawing. The cat is depicted in different colors, sizes, shapes. This will help students understand that there are no limits to creativity. You can teach a child to draw from an early age. As soon as he can sit, he is introduced to colors. There is no need to evaluate his activities and swear. Perhaps a real artist will grow up in the family.
Drawing lessons from 4 years old
As the child grows up, he already draws more complex pictures - autumn or winter, the underwater world and space, of course, based on his vision. At first, the results may turn out angular and spreading, but at 5-6 years old, children who began training at a young age usually draw such pictures well. It is very important to talk with children about their creativity - what is depicted, what characters, what they do, etc. It is necessary to keep the child’s work, this will give him confidence in the significance of his work.
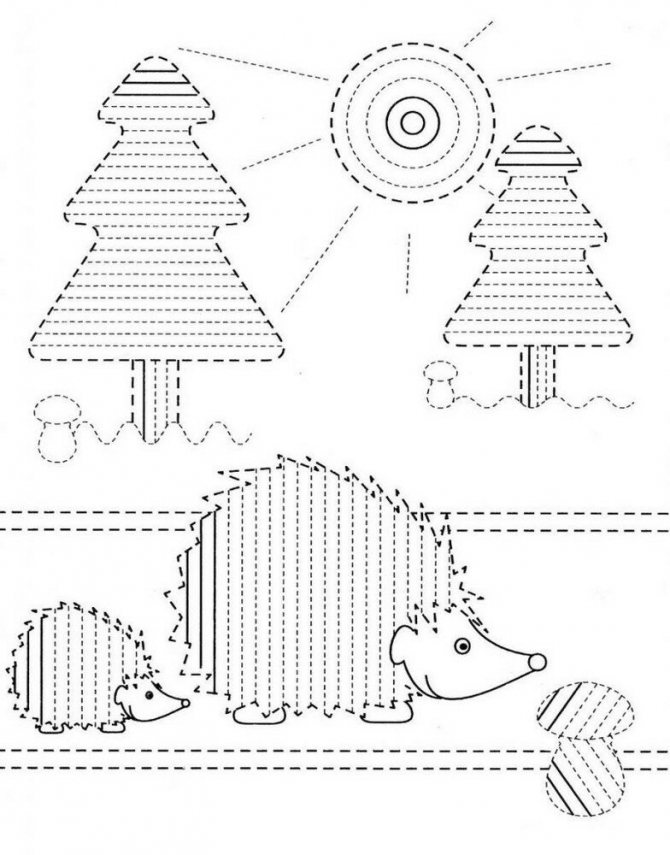
A popular design for 4-5 year olds is an autumn tree or a winter Christmas tree. The technique for drawing a Christmas tree is as follows:
- make a vertical line;
- draw slightly curved lines - branches;
- outline the branches with green needles, making them fluffy;
- draw the trunk brown;
- After drying, make marks with white paint among the greenery.
It is also recommended to draw a hedgehog with your child; the work will take a maximum of 12-13 minutes. First, outline the hedgehog's body in zigzags with a pencil, then add ears, an oval with a sharp nose - the head. The paws are drawn below. Afterwards you can do more delicate work - make eyes, nose, mouth, paint the hedgehog with colored pencils and paints.
Children also love to draw owls, donkeys, cats and dogs. You can take geometric shapes as a basis, to which you can then add paws and tails. It will not be difficult to draw a person - a circle, ovals and elongated rectangles will suffice. Children from 7-10 years old, if they wish, can try themselves in portraits, still lifes and other complex drawings. If there is a need and ability, it is imperative to send the child to specialized training, where his talents will fully manifest themselves.
Many children love to draw as children and invent magical worlds and heroes. But at some point doubt may suddenly appear: “I can’t do this” or even “I don’t know how to draw.” What to do to prevent a child from developing a feeling of fear in front of a white sheet of paper, and whether it is necessary to teach them to draw correctly right away, says the founder of the children’s art studio “Lethal and Chagall”, art critic and mother of three children Olga Aizenberg.